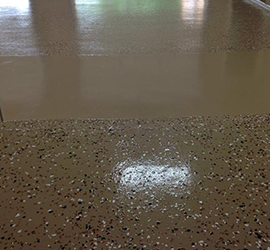
HOW TO EPOXY PAINT YOUR FLOOR IN SECTIONS
Sometimes you have too much stuff on your floor to completely clear out or maybe you just can’t stop what you’re doing business wise on the whole floor at the same time. So you need to do the floor in sections so you can move your stuff around and or keep your business running while you redo your floor with an epoxy flooring coat.
 Once the floor is properly prepared (see how to prepare your floor for epoxy coating) you would apply a good duct tape line to section off the floor. Do not use painters tape since our epoxy is too thick for that. Apply the first epoxy floor coat up to the tape line and let dry. Then apply the second coat but stay back 6-12” from the tape line. If doing a third coat as in the case of our Military Epoxy System, stay back 12” from the edge of the second coat. Thus creating a step effect with the floor epoxy.
Then carefully remove the tape, razor cutting the edge will most likely be needed. Before applying the first coat of the next section, lightly sand the first 6-12” strip of the first section to rough up. Then apply the epoxy to the second section and lightly overlap onto that sanded strip of the first section. For the second coat, you will lightly sand the strip of the second coat from the first section and lightly overlap the new section over that. Do the same if doing a third coat. The reason you need to sand those stripes is that after 24 hours the epoxy pores start closing and may affect the bonding of the overlapping epoxy.
Follow this method and the epoxies will all blend into one monolithic coating making your floor look like you did it all in one shot.
